Furniture Legs
Knobs/Handles
DIY/Parts
Inspiration
Easy Step-by-Step Guide on How To Paint IKEA Furniture
Nov 11, 2024
Prettypegs
Does your furniture need a fresh new look? Maybe you’re tired of its current color, or you’ve fallen in love with a second-hand piece that doesn’t quite match your style. Whatever the case, painting your furniture can be the perfect solution!
While tackling a DIY painting project might feel intimidating—especially if it’s your first time—don’t worry. With the right tips and tricks, you can easily transform your furniture and give it a whole new life. Whether it’s a beloved IKEA piece or a unique thrift store find, we’ve got you covered.
1. How to Paint Laminated IKEA Furniture
Painting laminated furniture might seem like a tricky task. You might wonder how to properly prepare the surface or worry that the paint won’t stick, leaving you frustrated after all your hard work. But don’t worry—it’s actually much easier than it seems! With the right approach, even a complete beginner can confidently tackle this project and achieve stunning results.
Sand Block or electrical sander
Paint brush - detail work
Roller - lager areas
Paint tray
Microfiber cloth
Painters tape
The tools we used for this project are from Klint Colours, a trusted brand for quality painting supplies. You can explore their products here
Step 1: Disassemble the furniture
The first step is to disassemble your furniture if it has drawers, doors, knobs or other removable parts. Taking these components apart makes the painting process much easier and ensures a smoother, more professional finish.
If your furniture doesn’t have any detachable parts, you can skip this step and move straight to the next one!
Step 2: Clean furniture form dirt and oils
Once you’ve disassembled your furniture (if needed), the next step is to thoroughly clean it using soap and water. This is a crucial step, as removing dirt, grease, and oils ensures a smooth and even paint application.
Skipping this step can lead to several issues: the paint might not adhere properly, dry evenly, or cure as it should. Over time, this can cause the paint to chip or peel, especially in areas where oil or residue was left behind. A clean surface is the foundation of a successful painting project!
Step 3: Sand down
After cleaning your piece, the next step is to remove the “shine” from the surface before applying primer and paint. This step is especially important for laminated furniture, like most IKEA pieces, because it helps remove the slick laminated layer, allowing the paint to adhere properly. Essentially, you’re aiming to expose the natural material beneath the laminate.
To do this, you’ll need a sanding block or, for larger pieces, an electric sander can save time and effort. For this project, we used a sanding block to sand down an IKEA Kallax unit, and it worked perfectly!
Take your time during this step—proper sanding is the key to achieving a long-lasting and professional-looking finish.
Step 4: Dust/wash off with micro cloth
Once you’ve finished sanding, it’s time to remove all the sawdust to ensure a smooth, flawless finish for both the primer and paint. Use a damp microfiber cloth to carefully wipe down every surface you sanded.
A microfiber cloth is essential because it picks up fine dust particles without leaving behind lint, which could stick to the surface and ruin your final finish. Avoid using regular towels or rags for this step to keep your project on track for a sleek and professional result.
Step 5: Prime
Once your piece has completely dried after cleaning off the dust, it’s time to start priming! Apply two thin coats of primer to ensure the paint adheres properly and creates a smooth base.
For large, flat surfaces, use a roller for quick and even application. Switch to a small paintbrush for detailed or hard-to-reach areas to ensure full coverage. Allow each coat of primer to dry fully before applying the next one.
This step requires a bit of patience, as waiting for the primer to dry properly is crucial for a flawless and durable finish. Take your time—your efforts will pay off!
Step 6: Paint
Hooray—it’s time for the fun part: painting!
With all the prep and priming done, you can finally bring your vision to life with color. When painting, remember to apply thin, even layers for the best results. Use a roller for larger surfaces and a paintbrush for smaller areas or intricate details. Be sure to let each coat dry completely before applying the next. Typically, two coats are enough to achieve the desired color intensity.
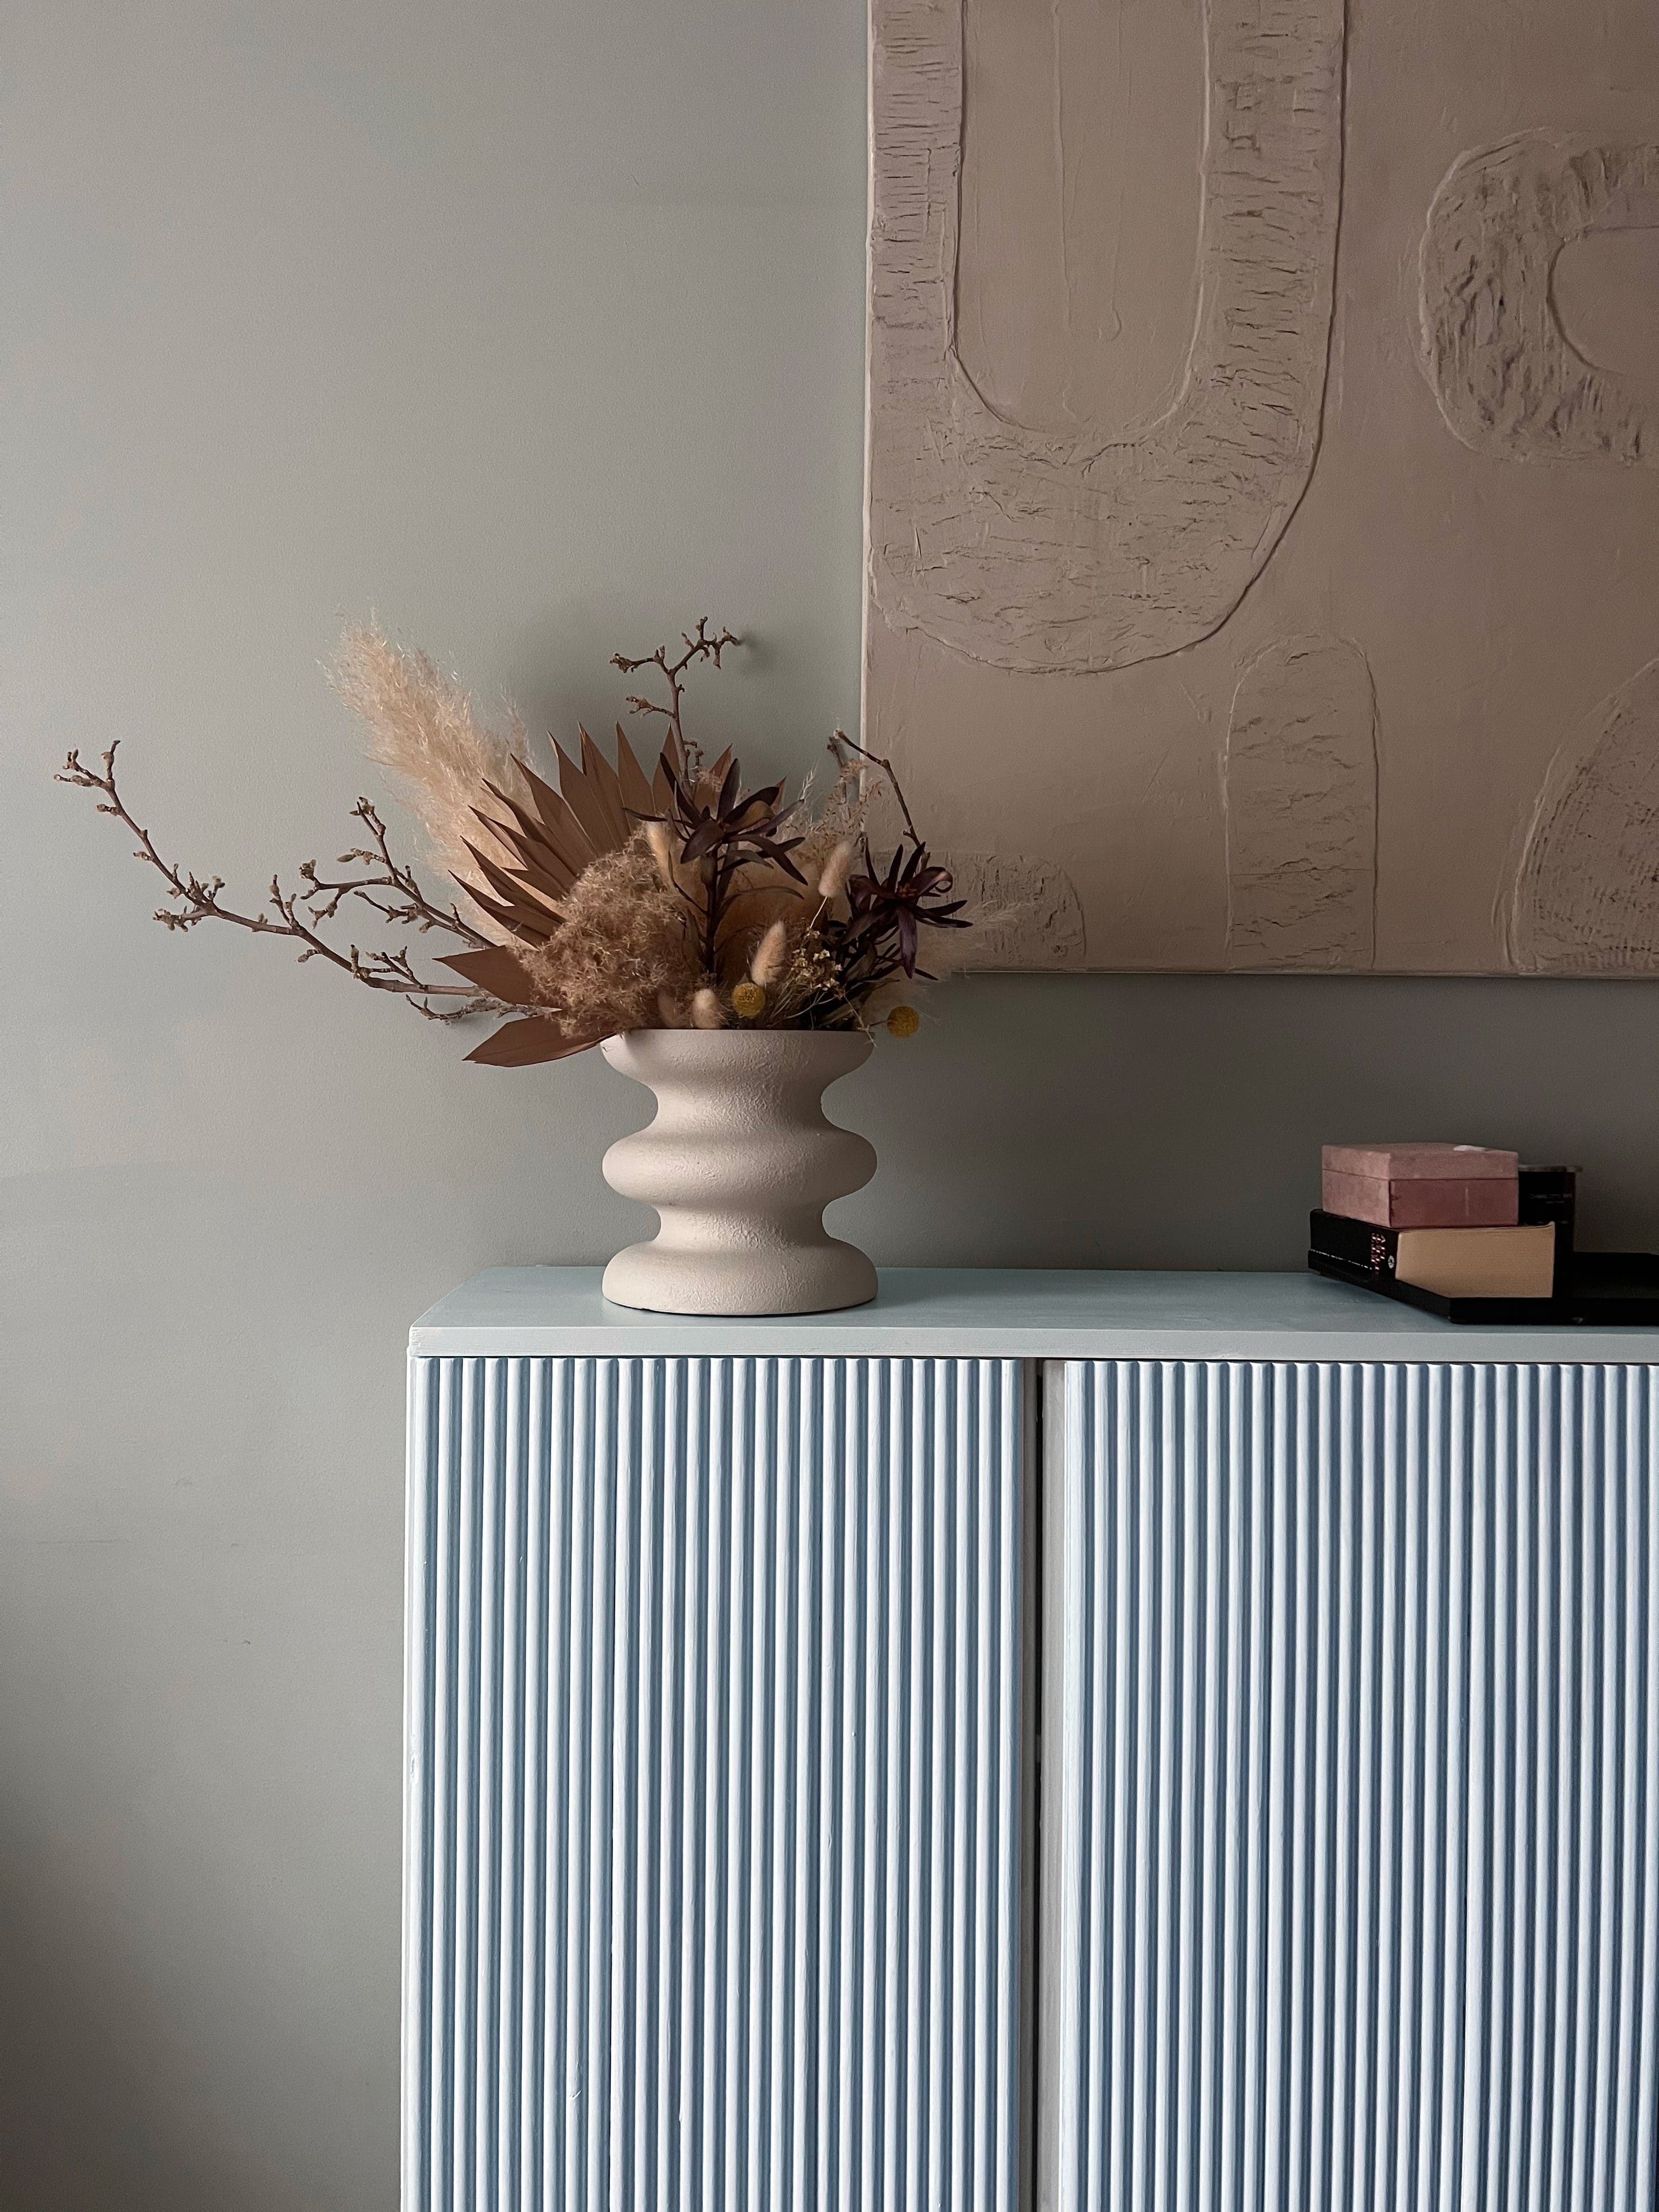
For this project, Klint created stripes by first painting two full coats with the base color K66 - Inner Space from Klint Colours. After it dried completely, they used painter’s tape to mark the stripes and applied two layers of the accent color K115 - Humble from Klint Colours. Once dry, the tape was carefully removed to reveal crisp, clean lines.
Step 7: Apply the topcoat
Once the paint has completely dried, it’s time to apply a topcoat to protect your work from wear and tear. Apply two layers of topcoat for maximum durability, allowing each layer to dry fully before adding the next.
After completing all the steps, it’s best to let your piece cure for a few days to ensure everything sets properly. While the surface might feel dry to the touch, it may not yet be strong enough to handle heavy use or objects. Patience here will ensure your hard work lasts for years to come!

Otto 100
195.00 SEK
2. Tips to Avoid Chipping:
Prep by sanding
Prime to seal the paint to the furniture
If using chalk paint, you will have to seal it with either wax or varnish. Satin, eggshell & gloss paint doesn’t require a seal
Apply 2 thin layers of topcoat
Allow the paint to cure for a few days (2-3) before use. Paint could be dry by finger touch but not fully to have objects on top
3. Painting Untreated Wood
The steps for painting non-laminated furniture are similar as painting furniture that is laminated, the major difference is that redoing a non-laminated is much more forgiving. If you have a completely bare (wooden) piece of furniture you might not need to do step 4 but it is always important to clean the furniture from all oil and dirt so that the paint can stick to the wood without it chipping later.
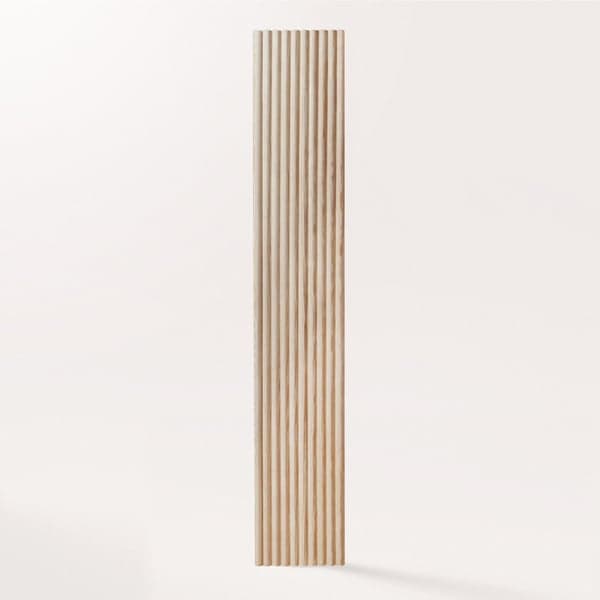
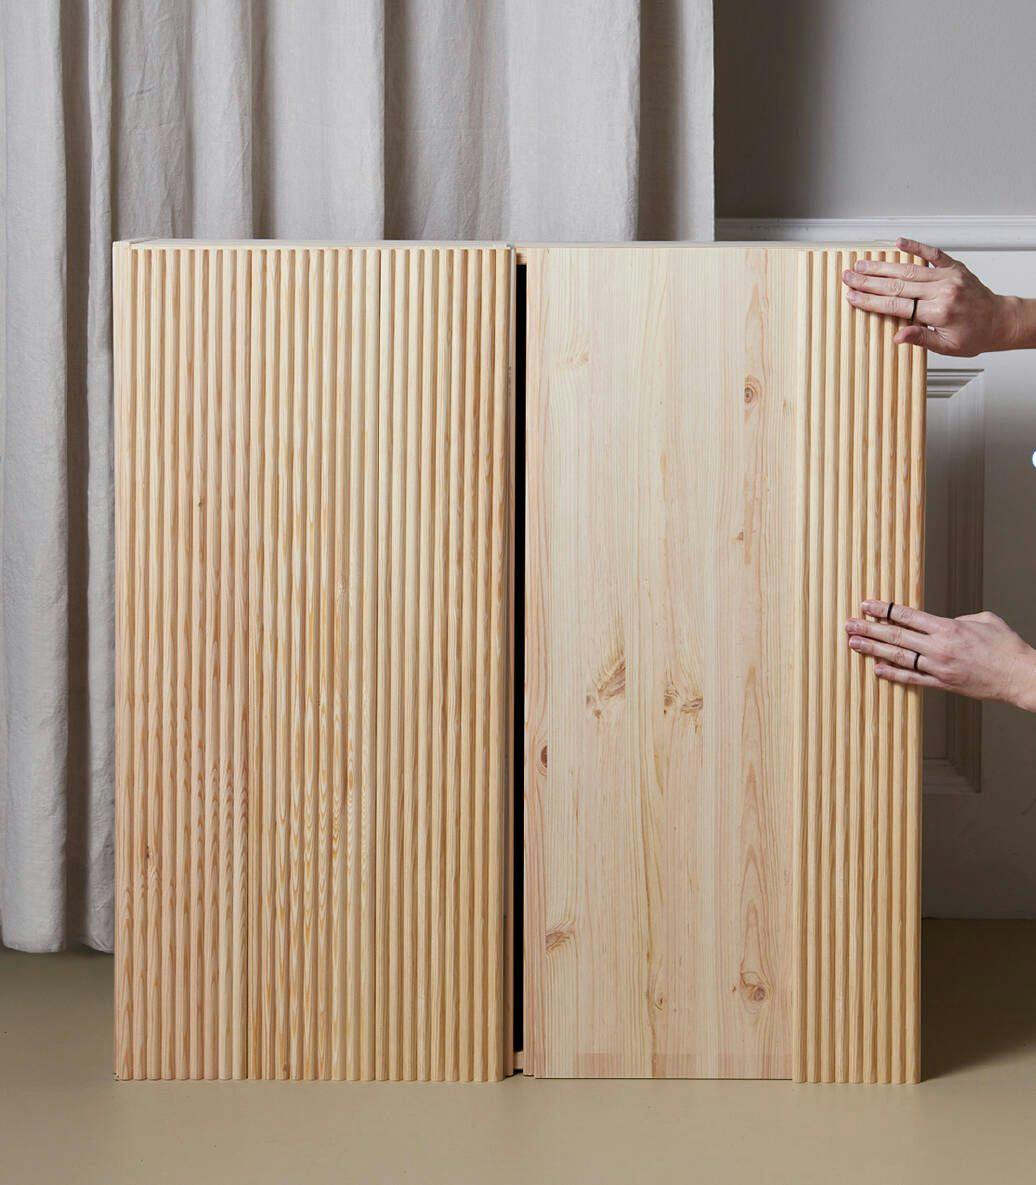
In the image below, you'll see an IKEA Ivar cabinet upgraded with our Fluted Ivar Panels. painted in a light blue shade. The panels can be customized with you favorite color, no sanding or priming required beforehand.

Fluted Ivar Panels
849.00 SEK
4. Removing Old Paint
If you want to strip the paint off it is important to know what kind of wood you are working with because if you don't there is a high chance you can ruin the wood due to the chemicals. Chemical strippers works great for larger surfaces and can strip almost any kind of paint. When working with a chemical paint strip, you either want to be in a ventilated room or outdoors due to the fumes.
Apply liquid paint strip with an old brush
Remove paint with a scraper moving away from you
After removing all paint apply a neutralizing solvent with a damp ragg.
Tip: its important to follow the instructions of the product being used so that you don't accidentally ruin the wood and to have the proper gear to protect your person.
Goggles
Safety gloves
Respirator
Prettypegs
We are proud to be in the forefront with a fresh design element in home decor styling – furniture feet! This grounding detail has been cast aside for too long and is now getting it's deserved attention. At Prettypegs we are passionate about details and design, and we all know that a unique accessory, like stunning jewelry or shoes will lift a personality. The same goes with furniture.


